Surprise energy bills. Rooms that never feel quite cool enough. Both often trace back to avoidable AC installation mistakes. Planning a new air conditioner or heat pump? Learn the biggest pitfalls now to save money, boost comfort, and protect your equipment. Inside this guide, you’ll get expert HVAC advice on the most common AC installation errors and how to avoid them—so your system runs efficiently from day one.
The Costly Problem: Why Installation Quality Determines Comfort, Efficiency, and Lifespan
A common misstep with new air conditioning is assuming “new means perfect.” In truth, performance hinges less on the brand and far more on installation quality. Field studies from energy agencies and utility programs around the world show that poor installation can cut system efficiency by 10–30% or more. That penalty shows up as higher energy bills, uneven temperatures, short cycling, extra noise, and premature wear. Even worse, once the crew leaves, many faults are difficult and expensive to correct without major rework.
Why does this happen? An air conditioner isn’t a single box—it’s a network: the outdoor unit, indoor coil or air handler, refrigerant lines, ductwork, thermostat, drain lines, electrical protections, and the building itself. If one link is weak—ducts undersized, charge off, or airflow restricted—the whole chain suffers. Picture buying a high-performance bicycle and riding with flat tires and a loose chain. The hardware can perform, but setup dictates the real-world results.
No matter where you live—tropical, arid, or temperate—local climate, building codes, and power standards vary. Yet the fundamentals remain the same: match capacity to the load, design for proper airflow, evacuate and charge the refrigerant circuit correctly, and verify the installation with commissioning. Nail those basics and you’ll enjoy better comfort, lower operating costs, and longer equipment life.
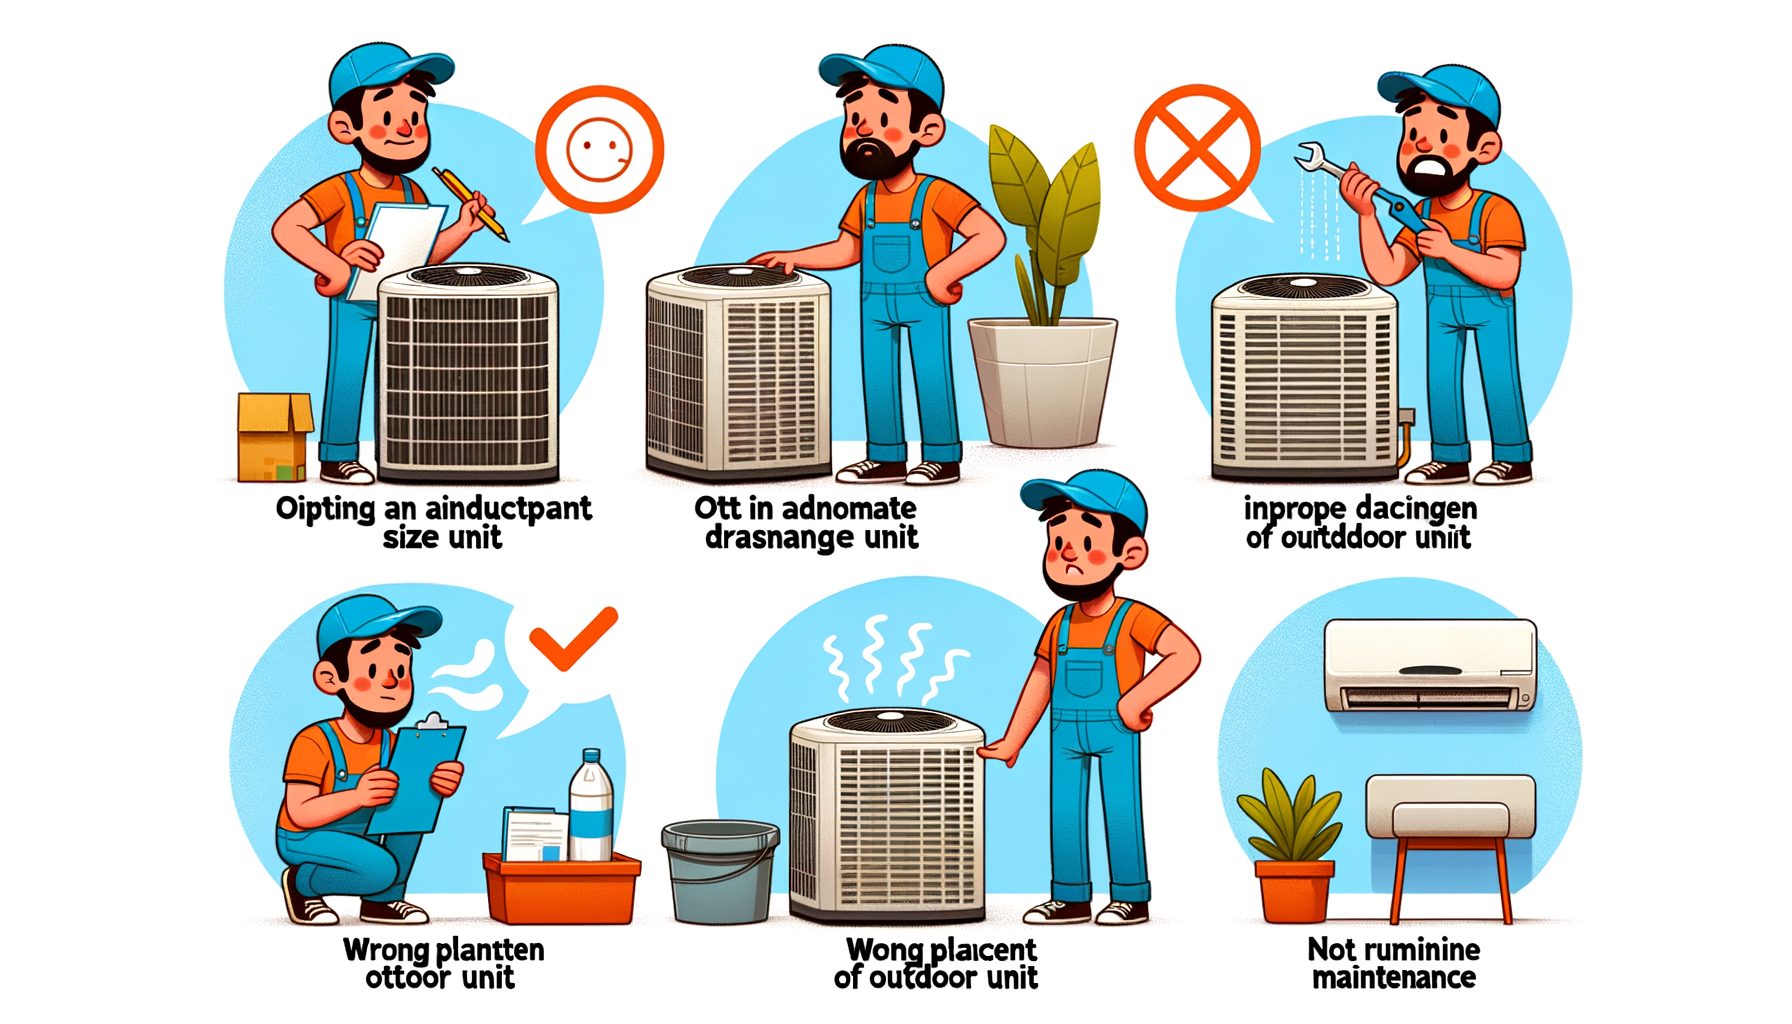
What follows are the top AC installation mistakes to avoid, why they matter, and step-by-step ways to do them right. Use these checkpoints to speak confidently with your installer or to audit a recent job so small problems don’t become big ones.
Mistake #1: Incorrect AC Sizing and Skipping a Proper Load Calculation
Oversizing and undersizing are the most common—and the most costly over time. Oversized systems short-cycle: they cool quickly, shut off, and restart again and again. Expect uneven temperatures, poor humidity control, higher wear, and lower efficiency. Undersized systems run constantly, struggle during heat waves, and push up energy costs. Either way, equipment life shortens.
The fix is a formal load calculation, not guesswork. In North America, pros use Manual J (residential) and Manual N (light commercial). Comparable methods exist worldwide. The principle is universal: account for square footage, insulation levels, window type and orientation, local climate, air leakage, and internal gains from people and appliances. If someone sizes your system by “rule of thumb” (tons per square meter/square foot) or by matching the old unit, consider that a red flag—buildings change, windows get upgraded, and climates shift.
Practical steps you can take:
- Ask for a written load calculation with assumptions. Make sure it includes insulation values, glazing details, and air leakage estimates.
- Plan for future improvements. Adding insulation or window films can reduce the load; size with those upgrades in mind.
- Verify sensible versus latent loads. In humid regions, moisture removal matters; a smaller unit that runs longer can deliver better comfort.
- Check efficiency standards. Ratings like SEER2 influence energy use. A right-sized, moderate-efficiency unit often beats an oversized, ultra-efficient model installed poorly.
Example: A 110 m² apartment with decent insulation and double glazing may only need 2.5–3.5 kW of cooling (0.7–1.0 tons). “Rule-of-thumb” sizing could push 5–6 kW, which would cycle on and off, leave air clammy in humid weather, and waste energy. A proper calculation prevents that and helps you select equipment and ductwork matched to the real load.
Helpful resources: see ACCA Manual J resources and the U.S. Department of Energy’s Cooling Guide. Outside the U.S., the same principles apply.
Mistake #2: Poor Airflow and Ductwork Design (Static Pressure, CFM, and Leakage)
Even perfectly sized equipment fails when air can’t move. Airflow is the lifeblood of your AC system—too little across the coil invites freezing and poor performance; too much reduces dehumidification and raises noise. Undersized ducts, long runs, or sharp turns create high static pressure and starve the system. Leaky ducts dump cooled air into attics, crawl spaces, or wall cavities, forcing longer runtimes and higher bills.
Here’s what good airflow looks like:
- Correct CFM (cubic feet per minute) per ton of cooling—typically 350–450 CFM/ton (about 170–210 L/s per kW)—tuned for climate and moisture control.
- Balanced supply and return pathways. Every room with a supply should have an adequate return path to prevent pressure imbalances that pull in hot, humid, or dusty air.
- Low total external static pressure (TESP). High static makes the blower work harder, draw more power, and move less air. Pros measure TESP and adjust duct design or fan speed.
- Sealed ducts using mastic or UL-181 foil tape—never generic cloth “duct tape.”
Steps to get it right:
- Request a duct design based on recognized standards (Manual D and T, or equivalents). Review duct sizes and layout before install day.
- Use smooth, gradual transitions and large-radius elbows instead of tight bends. Keep flex-duct runs short and fully stretched to reduce friction.
- Seal and insulate ducts in unconditioned spaces. Even 10% leakage adds noticeable cost, and hot attics can “cook” cold air before it reaches rooms.
- Have the installer measure and report TESP and delivered airflow at start-up. That’s core commissioning.
Real-world example: A home with a correctly sized 3.5 kW split system short-cycled and iced the coil. The unit wasn’t at fault—the return duct was crushed behind a closet panel. Restoring the duct dropped static pressure by 35%, ended the freeze-ups, and improved comfort. The takeaway is simple: prioritize airflow. For DIY checks, feel the furthest supply register; if airflow is weak, request static pressure testing.
Learn more about duct sealing and insulation from ENERGY STAR. For global ventilation standards that improve indoor air quality, see ASHRAE Standards.
Mistake #3: Refrigerant Line and Charge Errors (Evacuation, Superheat/Subcooling)
Refrigerant carries heat from indoors to outdoors. Missteps here cripple performance and can damage the compressor. The big three: wrong line set sizing/length, poor evacuation, and incorrect refrigerant charge.
What can go wrong:
- Improper line set size: Too small can starve the system; too large can hinder oil return. Manufacturers specify acceptable sizes and lengths for each model—follow them.
- No deep vacuum: Moisture and air inside the lines form acids and reduce efficiency. Pros pull a deep vacuum (often to 500 microns or less) and confirm it holds before opening valves.
- Guessing the charge: Eyeballing isn’t acceptable. Charge must be verified using superheat/subcooling methods under stable conditions per the manufacturer’s chart.
How to avoid these mistakes:
- Confirm the installer uses a micron gauge, not only a vacuum pump. Ask for a photo or reading of the final vacuum and decay test.
- Verify line set cleanliness. Nitrogen purging during brazing prevents internal oxidation and scale.
- Ensure proper flare/braze quality and torque. Poor joints leak slowly and erode performance over time.
- Require a start-up sheet documenting outdoor ambient, indoor wet-bulb/dry-bulb, and measured superheat/subcooling values.
Example: A new 5 kW unit lagged in mild weather and tripped on high pressure during hot afternoons. The culprit was excess refrigerant from charging by “feel.” After recovering and charging by subcooling to the manufacturer’s target, energy use fell about 15% and comfort stabilized. Commissioning data tells the truth—numbers don’t lie.
For a primer on efficiency ratings and why correct charging protects your SEER2 performance, see the DOE explanation: What Is SEER2—and Why It Matters.
Mistake #4: Skipping Commissioning, Controls, and Code Compliance
Commissioning verifies that a new AC system operates as designed. Skipping it is like leaving a car dealership without checking the brakes or tire pressure. A thorough process covers airflow measurement, refrigerant verification, electrical checks, condensate testing, control calibration, and documentation.
Key items to verify:
- Thermostat placement and setup: Avoid sun, appliances, and drafts. Configure system type (conventional vs heat pump), stages, and fan profiles. Smart thermostats need proper wiring and setup to prevent short cycling.
- Electrical protections: Confirm breaker size, dedicated circuit, correct wire gauge, surge protection (where appropriate), and tight, corrosion-protected connections.
- Condensate management: Proper traps, slope, and float switches prevent water damage. Test the drain under real operation.
- Safety and codes: Local permits, inspections, and standards (refrigerant handling, line insulation, clearances) protect both safety and warranty.
Why it matters: Small faults add up—like a blower set to the wrong speed, a stuck balancing damper, or a TXV out of adjustment. Those issues waste power, create noise, and strain components. Reputable installers follow recognized quality practices such as the ACCA/ANSI Quality Installation Standard. Many utility programs now require verification for rebates.
Actionable tips for homeowners and facility managers:
- Ask for a commissioning checklist and copies of measurements (static pressure, CFM, superheat, subcooling, voltage/amp draw).
- Photograph nameplates, filter sizes, and breaker labels for future maintenance.
- Schedule a 30–60 day follow-up to fine-tune settings after the system sees varied weather.
- Keep records for warranty claims. Many manufacturers require documented commissioning and maintenance.
Also keep indoor air quality in view: adequate fresh air ventilation and filtration matter. For health-focused guidance, see the WHO Indoor Air Quality resources and applicable local codes (the International Code Council hosts many national code adoptions).
Data Snapshot: Common AC Installation Mistakes and Their Impact
The summary below shows how typical AC installation mistakes affect comfort, energy use, and equipment life. Values are conservative ranges pulled from field studies, utility program data, and manufacturer guidance. Your results will vary by climate and building, but the patterns are consistent worldwide.
| Mistake | Typical Impact on Energy Use | Comfort/IAQ Impact | Risk to Equipment | Notes |
|---|---|---|---|---|
| Oversized equipment (no load calc) | +10–20% | Short cycling, poor humidity control | Higher wear on compressor/controls | Common in humid climates; right-size to reduce latent issues |
| Low airflow/high static pressure | +5–15% | Hot/cold spots, noise | Coil freeze, blower strain | Measure TESP; fix duct restrictions |
| Incorrect refrigerant charge | +5–20% | Slow cooling, long run times | Overheating or floodback to compressor | Verify via superheat/subcooling |
| Duct leakage to unconditioned spaces | +10–30% | Dust, drafts, poor filtration | Extended runtime | Seal with mastic; insulate ducts |
| No commissioning and controls setup | +5–10% | Erratic operation | Premature failures | Document start-up measurements |
ENERGY STAR reports that improper installation can sap performance by as much as 30% in some cases. That’s the difference between an AC that sips power and one that guzzles it. Protect your investment by insisting on documented measurements. If your installer can’t show readings, you can’t be sure the system is tuned. See ENERGY STAR: Quality AC Installation for consumer guidance.
Pro tip for Gen Z renters and first-time buyers: Even if you don’t own the building, ask your landlord or property manager whether the AC was commissioned and when the filter was last changed. Swapping a MERV 8–11 filter on schedule can improve airflow and lower energy use with no tools.
Quick FAQ: AC Installation Mistakes
Q1: How do I know if my new AC is oversized?
Watch for short run times (frequent on/off cycling), cool yet clammy indoor air, and temperature swings. If the system blasts cold air for a few minutes and shuts down repeatedly, request a load calculation review plus checks of thermostat settings and airflow. In humid regions, a correctly sized unit should run longer cycles to manage moisture.
Q2: What commissioning documents should I ask for?
Request measured total external static pressure (TESP), delivered airflow (CFM), superheat and subcooling values with matching indoor/outdoor conditions, line set vacuum level, thermostat configuration details, and electrical readings (volts/amps). A solid contractor will provide a clear start-up sheet.
Q3: Can a smart thermostat fix installation mistakes?
Smart thermostats optimize schedules and reduce unnecessary runtime, but they can’t overcome undersized ducts, incorrect charge, or wrong equipment sizing. Start with mechanical fundamentals, then add smart controls for best results.
Q4: Is ductless (mini-split) immune to these issues?
Ductless systems avoid duct leakage and can be very efficient, yet they still require proper sizing, correct line set installation, thorough evacuation, and commissioning. Poor indoor-head placement or an incorrect charge will still hurt efficiency and comfort.
Q5: What standards should my installer follow?
Look for alignment with ACCA/ANSI Quality Installation, proper load calculations (Manual J/N), duct design (Manual D/T or equivalents), and local building codes. You can reference guidance from the DOE, ENERGY STAR, and ASHRAE.
Conclusion: Prevent Problems Before They Start—and Lock In Long-Term Comfort
Here’s the big picture. The comfort and efficiency you feel daily don’t come from the badge on the unit; they come from avoiding installation mistakes. Right-size the equipment with a proper load calculation. Design and seal ductwork to deliver clean, quiet airflow. Evacuate and charge the refrigerant circuit by the book. Commission everything—airflow, charge, electrical, and controls—and document the results. Following proven industry standards protects your energy budget, improves indoor air quality, and extends equipment life.
Ready to act? If you’re planning an install, ask your contractor for: 1) a written load calculation, 2) a duct design and sealing plan, 3) a commissioning checklist with target measurements, and 4) proof of permits and code compliance. If the system is already in, request a performance audit. Many issues—like high static pressure or an off-spec charge—can be corrected without replacing the unit. Renters and students can still advocate: confirm regular filter changes, clear returns, and sensible thermostat settings. Small steps add up, especially during peak heat.
Your call-to-action: Before approving any quote, include a clause stating that final payment is due upon receiving commissioning data (airflow, TESP, superheat/subcooling). That simple requirement aligns everyone toward quality. Share this guide with a friend or building manager, and bookmark resources from DOE, ENERGY STAR, and ASHRAE to keep learning. Feeling overwhelmed? Start with two questions: “How did you size my system?” and “What numbers will you provide on commissioning day?” The answers reveal almost everything about the quality you’ll get.
You deserve an AC system that feels great and costs less to run. Ask better questions, focus on fundamentals, and avoid the most common pitfalls—then enjoy reliable comfort for years. So, what’s the first question you’ll ask your installer today?
Sources and Further Reading
– U.S. Department of Energy: Central Air Conditioning — https://www.energy.gov/energysaver/central-air-conditioning
– ENERGY STAR: Quality AC Installation — https://www.energystar.gov/campaign/heating_cooling/installation
– ACCA Technical Manuals (Manual J/D/T) — https://www.acca.org/standards/technical-manuals
– ACCA/ANSI Quality Installation Standard — https://www.acca.org/standards/quality-installation
– DOE: What Is SEER2—and Why It Matters — https://www.energy.gov/eere/buildings/articles/what-seer2-and-why-it-matters
– ASHRAE Standards & Guidelines — https://www.ashrae.org/technical-resources/standards-and-guidelines
– WHO Indoor Air Quality — https://www.who.int/teams/environment-climate-change-and-health/air-quality-and-health/indoor-air-quality