Most AC installations fail early not because of bad equipment, but because of invisible enemies—moisture and air trapped in the lineset. Pulling a vacuum is the move that purges those enemies, protects the compressor, and locks in performance from day one. Skip it or do it halfway and you invite noisy operation, higher energy bills, and costly breakdowns. Do it right and the system runs cooler, quieter, and longer. Planning a new HVAC or heat pump install—or chasing poor performance? This guide lays out why evacuation matters, how to do it correctly, and how to avoid common pitfalls.
The hidden problem: moisture, air, and contaminants in new linesets
Hook up a new indoor unit, outdoor unit, and lineset, and the copper tubing starts out full of air. Humidity leaves moisture behind, flaring can introduce cutting oils, brazing sheds micro-debris, and the atmosphere contributes oxygen and nitrogen. Harmless outdoors, that cocktail turns destructive once sealed inside a refrigeration circuit.
Moisture is problem number one. In contact with refrigerant and compressor oil, water can form acids that attack metal surfaces, pit compressor windings, and degrade elastomers. In low-temperature parts of the circuit (like the metering device), liquid water can freeze into ice, partially blocking flow and causing erratic pressures, high superheat, and poor capacity. Even tiny amounts of moisture reduce oil lubrication and shorten compressor life. With modern systems using POE oil (polyolester), the risk rises because POE is hygroscopic—it readily absorbs moisture.
Air is the next issue. Non-condensable gases (oxygen and nitrogen) steal condenser space meant for refrigerant, driving up head pressure. The compressor then works harder, draws more amps, and wastes energy trying to reject heat from gases that shouldn’t be there. Higher head pressure elevates operating temperature, stressing windings and bearings. Over time, that added workload shortens compressor life and boosts failure rates—well known to manufacturers, which is why many warranties require documented evacuation with a micron gauge.
Contaminants such as flux residues, fine copper dust, and brazing byproducts behave like abrasive sand in the oil and can plug tiny passages in electronic expansion valves. They also create reactive sites that accelerate chemical breakdown when acids are present. A proper evacuation won’t remove solid debris—that’s what nitrogen purging during brazing is for—but it does strip out moisture and volatile contaminants, setting your system up for a clean charge and stable performance.
Bottom line: without a verified deep vacuum, you’re trapping moisture and air inside a machine that depends on chemistry, lubrication, and phase change. That’s a costly gamble—especially on inverter-driven heat pumps and mini-splits that are more sensitive to contaminants than older fixed-speed systems.
Why evacuation matters: physics, performance, and warranty
The science is simple: water boils at lower temperatures when pressure drops. Evacuating to a deep vacuum reduces absolute pressure inside the system so liquid water flashes to vapor and can be removed by the pump. A quick “swoosh” with a standard gauge set won’t cut it. You need a deep vacuum verified with a micron gauge to prove the system is dry and tight.
At typical room temperatures, water will actively boil during evacuation once you pull below its saturation pressure. The table below shows the relationship between absolute pressure and the temperature at which water boils. Your goal is to get low enough that any moisture inside aggressively vaporizes.
| Absolute pressure | Microns (approx) | Water boils at (approx) | What it means in practice |
|---|---|---|---|
| 55 Torr | 55,000 µm | 40°C (104°F) | Needs high temps to boil moisture; evacuation is slow/ineffective |
| 17.5 Torr | 17,500 µm | 20°C (68°F) | Water boils at room temp; moisture removal begins in earnest |
| 4.6 Torr | 4,600 µm | 0°C (32°F) | Even cold moisture will vaporize; much faster drying |
| 1 Torr | 1,000 µm | Below freezing | Any remaining moisture cannot stay liquid; rapid removal |
| 0.5 Torr | 500 µm | Well below freezing | Industry target for “deep vacuum” before opening refrigerant |
Most manufacturers specify pulling a system down to 500 microns or lower, then performing a standing vacuum test (isolation test). If the micron reading rises only slightly and stabilizes, the system is both dry and tight. If it climbs rapidly, a leak is likely. If it rises slowly and continuously, moisture is probably still boiling off inside.
It isn’t just best practice—many warranties require it. Some brands ask for evacuation records (time-and-micron logs) on claims. Beyond protection, a deep vacuum directly impacts performance: lower head pressure, better heat transfer, quieter operation, and correct oil return. In real installations, that can be the difference between a system that hits its SEER/HSPF ratings and one that runs 10–20% less efficient.
From experience: on a recent 3-ton inverter heat pump, the initial pull with standard hoses hit 1,200 microns and stalled. After swapping to a core removal tool and 3/8-inch vacuum hose directly to the suction service port, we hit 320 microns in 18 minutes and held under 420 microns for 15 minutes—night-and-day performance, and the system started with stable superheat and subcooling on the first charge.
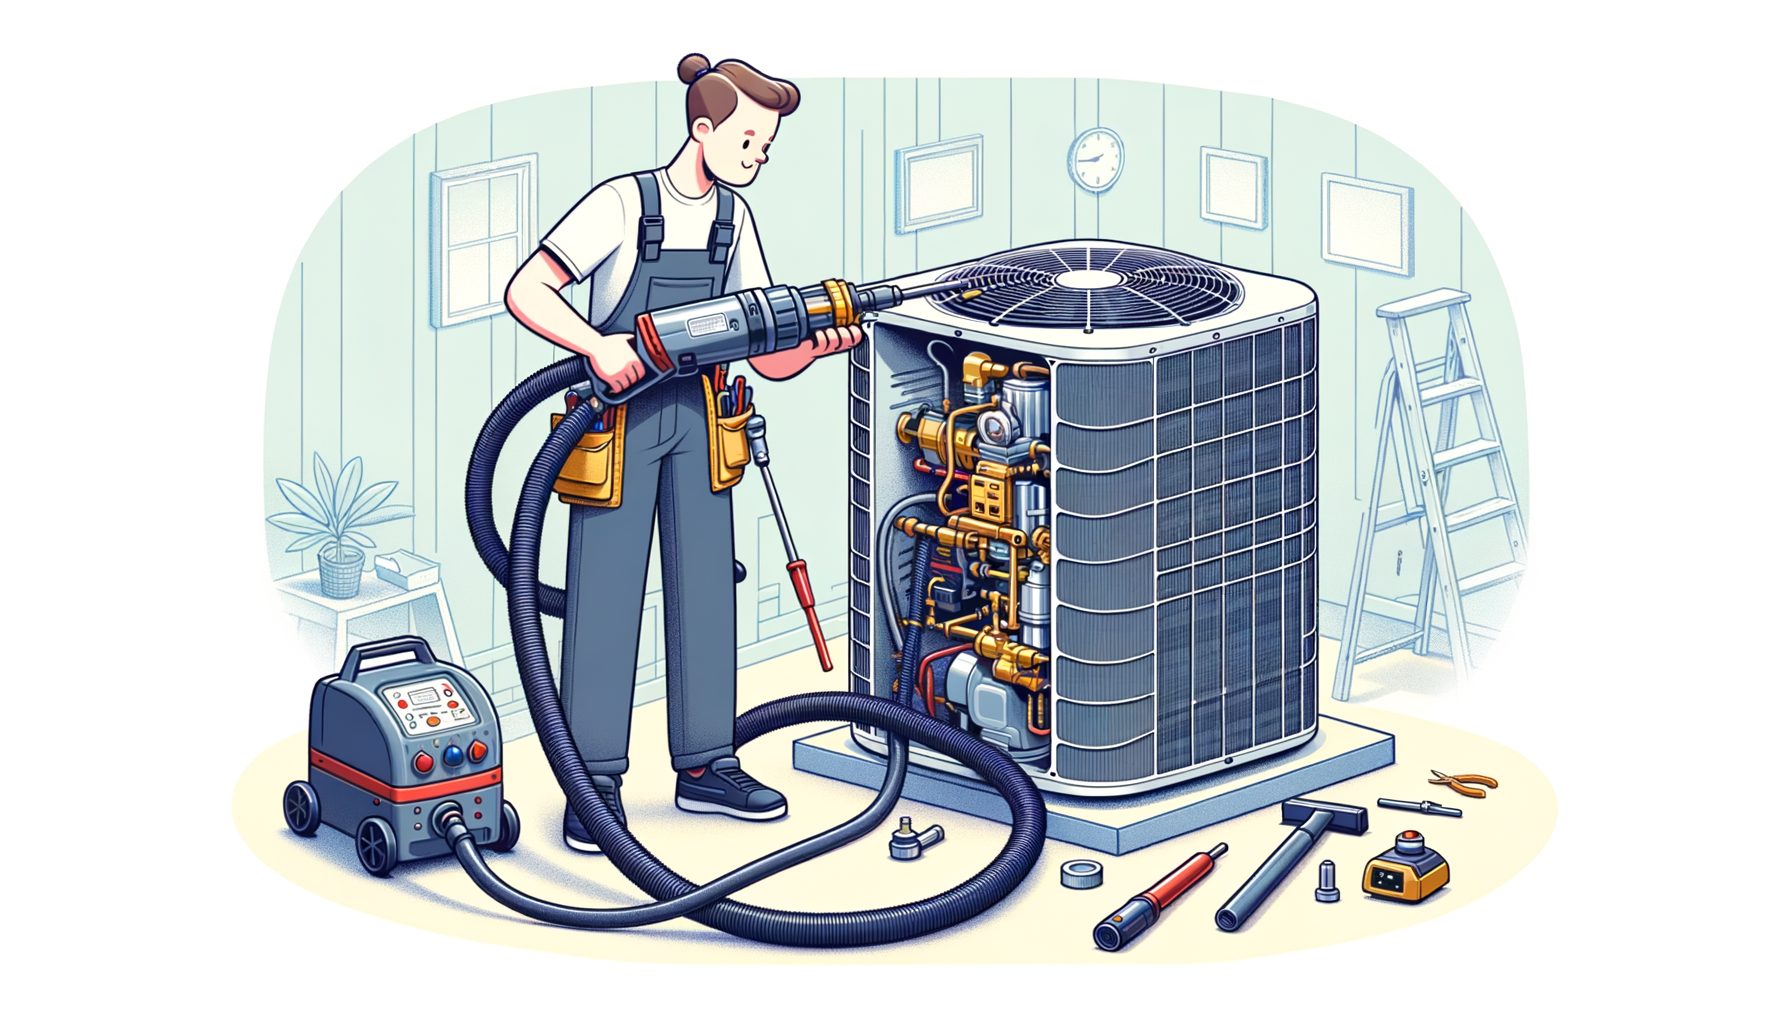
Tools and step-by-step: how to vacuum an AC system the right way
Proper evacuation is fast when you use the right tools and method. Here’s a field-proven process that balances speed, safety, and documentation.
Tools you need:
- Quality vacuum pump with fresh oil (rated 5 CFM or higher for residential); change oil right before evacuation.
- Large-diameter vacuum hoses (3/8 in or 1/2 in) with low-permeation seals. Avoid standard 1/4 in manifold hoses.
- Core removal tools (CRT) to remove Schrader cores and increase flow.
- Digital micron gauge placed on the system—not at the pump—to read true system pressure.
- Nitrogen tank with regulator for pressure testing and breaking the vacuum (dry nitrogen only).
- Manifold (optional for nitrogen testing), but connect the pump with dedicated vacuum hoses when evacuating.
Step-by-step:
- Pressure test with nitrogen: After brazing and leak-checking joints with a bubble solution, pressurize the system with dry nitrogen to the manufacturer’s test pressure (commonly 300–500 psig for many R410A systems; always follow the manual). Hold for at least 10–15 minutes. No drop should occur. That verifies there are no gross leaks.
- Set up for evacuation: Install core removal tools and pull the Schrader cores from service ports. Connect the vacuum pump to the CRTs using short, large-diameter hoses. Place the micron gauge on a tee at the liquid line or indoor unit side, away from the pump, so you read the system—not the hose.
- First pull: Start the pump. Watch the micron gauge drop. On a clean, dry system with proper hoses, you should pass 1,500 microns quickly and reach below 500 microns in minutes to tens of minutes, depending on volume.
- Standing vacuum test: Close the CRT isolation valves to isolate the system from the pump. Let the reading stabilize for 10 minutes. Good results: rise less than 200 microns and clearly leveling off (example: 380 to 520 microns and stabilizing). A rapid rise to thousands indicates a leak; a slow continuous climb suggests moisture.
- Triple evacuation if moisture is present: Break the vacuum with dry nitrogen to 0–2 psig, vent to atmosphere safely, then evacuate again. Repeat 2–3 times, ending with a deep pull to at or below 500 microns and a passing hold test. The nitrogen sweep absorbs and carries out moisture vapor.
- Document: Photograph the micron readings and times. Many gauges log data—save it. Doing so protects your warranty and gives you confidence in the charge that follows.
- Open the refrigerant: Once the system holds below target, open the service valves per the manufacturer’s instructions or weigh in the charge if the system requires field-charging. Avoid introducing air by cracking hoses; use proper valve sequences.
Two key pro tips: keep the pump oil clean (change it if your pull slows unexpectedly) and minimize restrictions (cores out, big hoses, shortest path). Those two changes alone often cut evacuation time in half and help ensure a reliable deep vacuum.
Common mistakes, troubleshooting, and real-world examples
Even pros can fall into habits that sabotage evacuation. Knowing what to avoid—and how to fix it—saves time and callbacks.
Common mistakes:
- Using standard manifold hoses for evacuation: Small-diameter, permeable hoses slow evacuation and allow back diffusion of air. Instead, use dedicated 3/8–1/2 in vacuum hoses directly to CRTs.
- Leaving Schrader cores installed: Cores are major flow restrictions. Removing them with CRTs can drop evacuation time dramatically and help you reach 500 microns quickly.
- Mounting the micron gauge at the pump: That gives a misleading low reading. Always place the micron gauge on the system, as far from the pump as practical.
- Skipping nitrogen sweeps: If a hold test fails due to moisture, a triple evacuation with dry nitrogen is the fastest way to fix it. Just pulling longer may not overcome trapped moisture in oil films and tubing crevices.
- Not changing pump oil: Used oil is moisture-saturated and loses performance. Swap it when the pull plateaus or after long evacuations.
- Opening refrigerant before proving the vacuum: Introducing refrigerant into a wet system locks in problems. Verify dryness first; then charge.
Troubleshooting by micron behavior:
- Rapid rise to thousands of microns within 1–2 minutes after isolation: Likely a leak. Re-pressurize with nitrogen and locate with bubbles or an electronic leak detector.
- Slow, steady climb over many minutes: Moisture still boiling off. Break with nitrogen and repeat evacuation; slightly warming the indoor coil with gentle heat can help.
- Stuck around 1,000–1,500 microns: Flow restriction (cores installed, tiny hoses), pump oil exhausted, or an isolated volume trapped behind a closed valve. Fix restrictions and change oil.
Real-world example: A 24,000 BTU mini-split install stalled at ~1,200 microns using a manifold and 1/4 in hoses. After switching to a single 3/8 in hose, removing cores, and moving the micron gauge to the indoor service port, the system hit 380 microns in 12 minutes and held at 460 microns after isolation for 12 minutes—pass. Post-startup readings showed normal subcooling and superheat, with quiet inverter ramp-up and stable supply air temps. Another case with a heat pump in a humid climate needed a triple evacuation because the first hold test climbed from 480 to 1,100 microns in 15 minutes; after two nitrogen sweeps and fresh pump oil, it held at 520 microns flat. No callbacks.
Q&A: quick answers to common evacuation questions
Q1: What micron level should I aim for?
A: Most manufacturers specify 500 microns or lower, followed by a 10–15 minute standing vacuum test with minimal rise (≤200 microns) and a clear stabilization. Always follow the product manual.
Q2: Do I really need a micron gauge?
A: Yes. Compound gauges cannot read deep vacuum accurately. A digital micron gauge is the only reliable way to verify dryness and tightness.
Q3: How long should evacuation take?
A: With cores removed, large hoses, and fresh pump oil, many residential systems reach ≤500 microns in 10–30 minutes. Moisture, long linesets, and small hoses can extend that significantly.
Q4: Is triple evacuation always required?
A: No. Use it when the hold test suggests moisture (slow rising microns). If your first pull reaches ≤500 microns and holds steady, a triple evac is unnecessary.
Q5: Is this DIY-safe?
A: Working with refrigerants is regulated in many regions (e.g., EPA Section 608 in the U.S.; F-Gas in the EU). If you are not certified or lack the proper tools, hire a licensed HVAC technician to protect safety and warranty.
Conclusion: make evacuation your non‑negotiable step
Great HVAC installs are built on invisible details. You’ve seen why: moisture and air inside a sealed system cause acids, freezing, high head pressure, and early failures. Pull to a deep, verified level—ideally ≤500 microns with a stable hold—and those risks are removed, the compressor is protected, and the system can hit its rated efficiency and comfort. The physics are clear: lower pressure makes water boil at lower temperatures, so it can be swept out by the pump. Well, here it is: the practice is straightforward—use big hoses, remove Schrader cores, place the micron gauge on the system, sweep with dry nitrogen if needed, and document your results.
Whether you’re commissioning a mini-split in a studio apartment or a variable-speed heat pump for a whole home, treat evacuation as a non-negotiable step, not a box to tick. The payoff shows up immediately in easier charging, correct superheat and subcooling, quieter operation, and fewer callbacks. It also shows up later, in lower energy bills and longer compressor life—benefits your customers (or your future self) will notice.
Take action on your next install: upgrade to large-diameter vacuum hoses, add a quality micron gauge, and practice the standing vacuum test until it’s second nature. If you’re a homeowner comparing quotes, ask your installer how they evacuate and what micron target they guarantee. If you’re a tech building your toolkit, invest in a core removal tool and fresh pump oil—small costs that deliver big wins.
Make evacuation your signature move. The systems you install will run better, your documentation will be stronger, and your reputation will stand out. Ready to raise your standard on the next job? Then this: what one upgrade—bigger hoses, a new micron gauge, or nitrogen sweeps—will you implement first?
Helpful resources and references:
- U.S. EPA Section 608 Refrigerant Handling
- ASHRAE Handbook (Fundamentals and Refrigeration)
- AHRI Directory: Equipment Ratings and Standards
- Mitsubishi Electric Installation Manual (example evacuation specs)
- Fieldpiece: Evacuation 101 (micron gauge basics)
- ESCO Institute HVACR Training Resources
Sources:
- ASHRAE Handbook—Fundamentals: Properties of Moist Air and Water Vapor Pressure Tables.
- Manufacturer installation manuals (Mitsubishi Electric, Daikin, Carrier) specifying evacuation targets and procedures.
- EPA Section 608 guidance on refrigerant handling and best practices.
- Industry training materials (Fieldpiece, ESCO Institute) on evacuation and micron measurement.