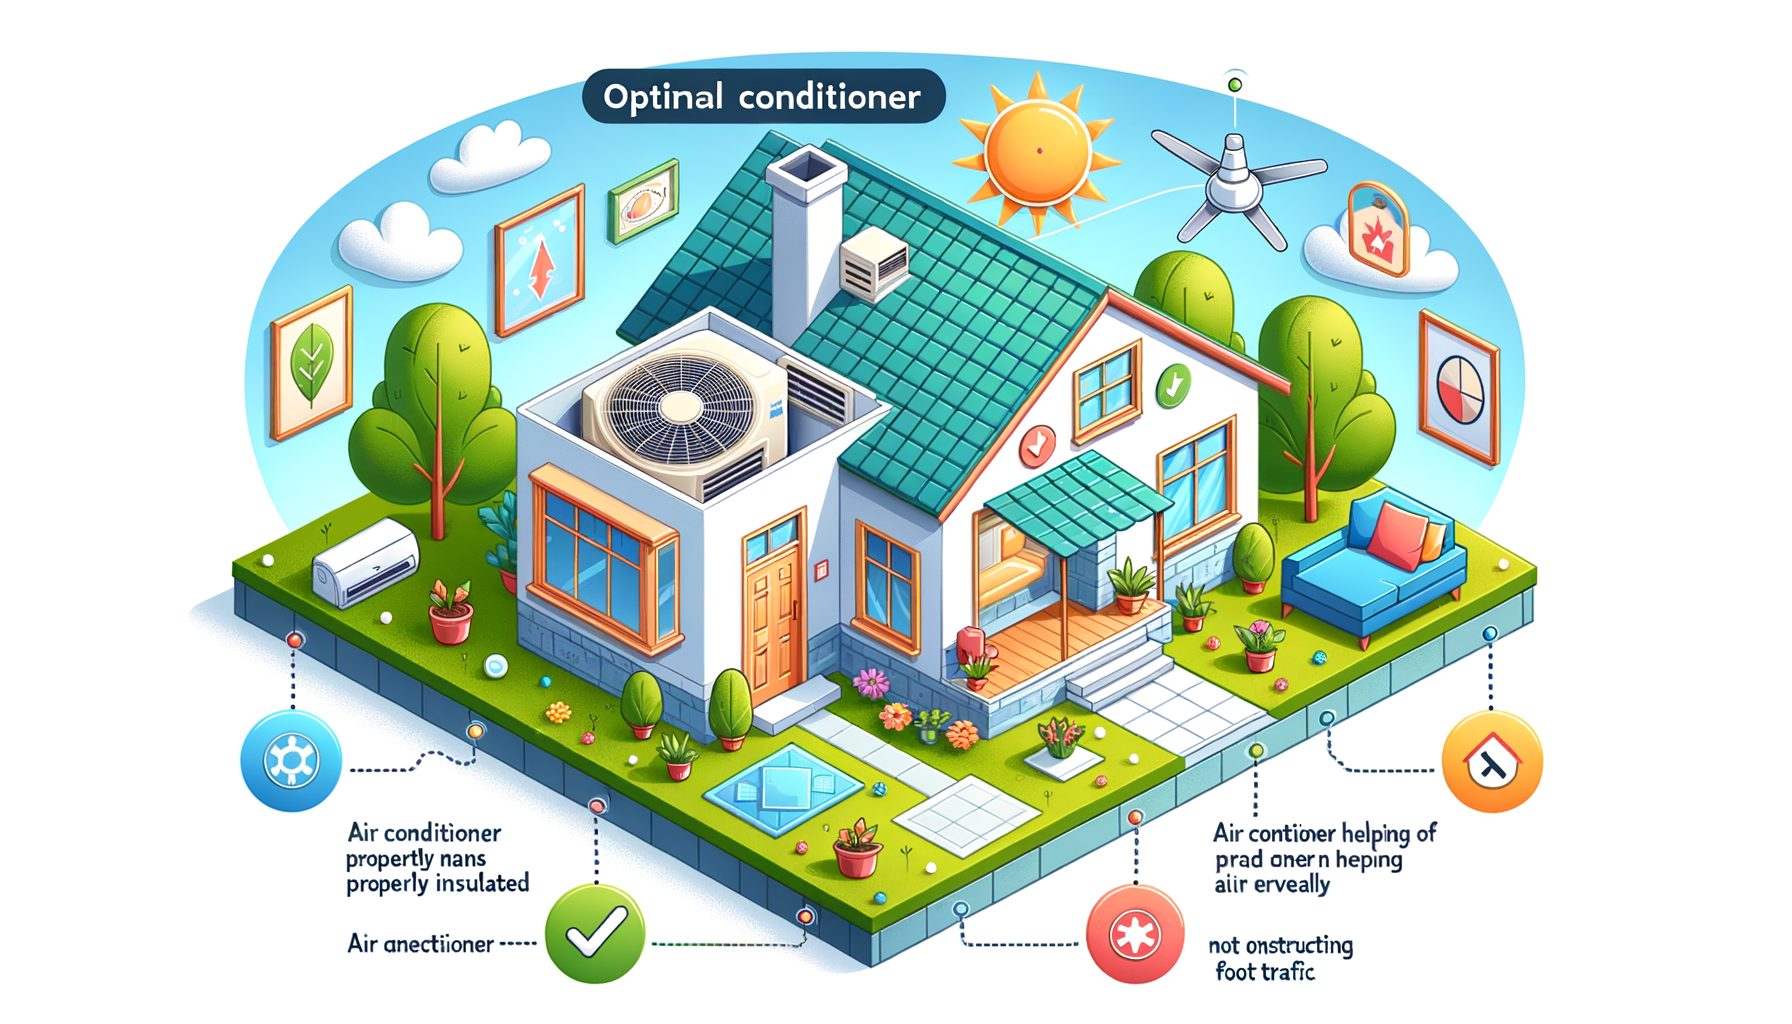
Getting the most comfort for the lowest energy cost often hinges on one simple choice: where you put the AC. If you’ve ever wondered why a room feels unevenly cool, why your bill is higher than expected, or why your unit seems louder than the specs, placement is usually the culprit. In plain language, the guide below lays out optimal air conditioner placement so you can boost comfort, cut noise, extend equipment life, and reduce power use. Whether you’re installing a ductless mini‑split, a window unit, or a central system condenser, you’ll find practical rules for getting placement right—and simple ways to dodge the expensive mistakes many homes still make.
Why Optimal Air Conditioner Placement Matters
Many people choose AC locations based on convenience or open wall space. Unfortunately, convenience isn’t a design principle. Poor placement forces your system to work harder, run longer, and cycle more often, which costs money and shortens equipment life. The main issues are predictable: blocked airflow, hot spots from direct sun or electronics, noise transfer through walls, excessive line length between indoor and outdoor units, and service areas that are impossible to access. Fixing these after installation is far more expensive than getting placement right the first time.
Here’s what the data and field experience show. Air conditioners depend on uninterrupted airflow to exchange heat. Obstructions—curtains, tall furniture, or a unit mounted inches from the ceiling—reduce throw distance and create cold blasts that feel uncomfortable even when the thermostat reads “perfect.” Likewise, placing a thermostat in direct sunlight or too close to a supply register can trick the system into shutting off early, leaving bedrooms or corners warm and humid. Outdoors, when a condenser is starved for fresh air (too close to walls, fences, or plants), it’s forced to recirculate its own hot exhaust, which hurts efficiency and can raise head pressure—stress that shows up as higher electricity use and a shorter compressor lifespan.
Acoustics and neighbors matter too. Condensers get louder when tucked into walled alcoves or set beneath bedroom windows; indoor units can transmit vibration through flimsy partitions. Local codes and manufacturer instructions also specify clearances for safety and service. Ignore those rules and you may void warranties or complicate inspections. The bottom line: optimal air conditioner placement isn’t guesswork—it’s about airflow, heat sources, acoustics, safety clearances, and access. Nail those, and you’ll typically see lower bills, more even temperatures, and a quieter home with fewer repairs.
Indoor Unit Placement: Practical Rules and a Simple Step‑By‑Step
Start with airflow. For ductless mini‑splits (high‑wall units), aim the supply air across the longest, most open path in the room. Ideally, the airstream should travel 10–15 feet before meeting a wall or large furniture. Choose a wall that “sees” the room—not one tucked behind a door or facing a cabinet. High‑wall cassettes generally belong 6–8 inches below the ceiling to allow proper intake above and smooth throw below. Observe at least the manufacturer’s minimum clearances around the unit (often 4–6 inches above and on the sides), and don’t wedge a head into a tight soffit unless it’s designed for concealed mounting.
Now for the no‑go zones. Keep the indoor head away from heat sources (ovens, TV stacks, servers), lamps that radiate heat, and spots where direct sun can bake the temperature sensor. Corners and narrow hallways choke airflow—skip them. In open‑plan living areas with a kitchen, mount the unit so it pushes air toward the living zone rather than drawing greasy air from the cooktop. For bedrooms, set the vane to sweep above the bed, not blast the sleeper. In humid climates, steady, gentle airflow reduces clamminess and improves dehumidification. And don’t forget condensate: the drain should slope continuously downward (about 1–2% grade) to a safe termination; if you need a pump, plan for service access and noise isolation.
Central HVAC introduces a few different rules. Supply registers should not blow directly onto thermostats or into return grilles. A thermostat belongs on an interior wall, away from windows, kitchens, and exterior doors, typically 52–60 inches (132–152 cm) above the floor. Keep it out of direct sunlight and off walls that heat up in the afternoon. Adding a new return? Pick a spot with low noise risk (not right outside a bedroom) and enough wall cavity for proper duct sizing. Ensure doors are undercut or install transfer grilles so air can return when doors are closed; starved returns cause whistling vents and uneven rooms.
Step‑by‑step for indoor placement: 1) Sketch the room and mark heat/sun sources. 2) Identify the longest unobstructed airflow path. 3) Choose a wall that allows line‑set routing with minimal bends and a short path to the outdoor unit (within manufacturer limits). 4) Verify clearances: above, sides, and front. 5) Plan the condensate path (prefer gravity). 6) Confirm wall structure (stud location, blocking for heavy heads or ceiling cassettes). 7) Check noise transfer—avoid thin partitions shared with a nursery/bedroom. 8) Finalize vane direction for occupant comfort. Follow these steps and you’ll usually get quieter operation, faster pull‑down, and better humidity control with fewer hot or cold spots.
Outdoor Unit Placement: Airflow, Noise, Weather, and Service Access
The outdoor condenser (or heat pump) must inhale cool ambient air and exhale hot air freely. Any restriction—tight alcoves, fences, shrubs, or solid overhead decks—forces the unit to recycle its own hot exhaust, slashing efficiency. Set it on a rigid, level base: a concrete pad, wall brackets, or a rooftop frame with anti‑vibration isolation. Elevate at least 4–6 inches (10–15 cm) above grade to prevent flooding and snow blockage; in snowy regions, raise it above typical drift levels. Keep clear of roof or gutter discharge; water and debris batter coils and can create winter icing. Mounting on a balcony or roof is fine when the structure can handle the load—just secure against wind uplift per code and the manufacturer’s instructions, and keep line lengths and vertical separation within limits.
Shade helps if done right. A unit in unobstructed shade can run a bit cooler, but don’t box it in. Use open trellises or north/east exposures rather than dense shrubs or solid screens. In coastal or industrial areas, corrosion protection matters—choose models with coated coils and rinse the coil with fresh water periodically. What’s interesting too: sound travels in straight lines and reflects off hard walls. Avoid aiming the fan outlet toward bedroom windows or neighboring patios. Increase distance, use soft landscaping for diffusion (without blocking airflow), and follow local noise ordinances. Space paired condensers so one doesn’t inhale the other’s exhaust; leave room for service panels to swing open and for coil cleaning.
Typical clearances and quick facts:
| Placement factor | Recommended target | Why it matters |
|---|---|---|
| Side clearance (each side) | 12–24 in (30–60 cm) | Maintains intake airflow and allows service |
| Front clearance (coil discharge/service side) | 24–36 in (60–90 cm) | Prevents hot‑air recirculation; permits coil cleaning |
| Top clearance | 60 in (150 cm) open air | Stops exhaust from trapping under decks/eaves |
| Pad height above grade | 4–6 in (10–15 cm), higher in snow zones | Limits flooding, debris ingestion, and icing |
| Distance between two condensers | 24–36 in (60–90 cm) | Prevents cross‑contamination of hot exhaust |
| Typical max line length (varies by model) | 15–30 m (50–100 ft) | Long runs reduce capacity; follow the manual |
Plan the route before drilling. Short, direct line sets with gentle bends perform better and are easier to service. Protect line sets with UV‑resistant covers outdoors and use sleeves where they pass through walls. Keep electrical disconnects accessible and weather‑rated. In areas with strong prevailing winds, some manufacturers allow wind baffles—use only models approved for your unit. Well, here it is: leave a clear path for technicians. Nothing is maintenance‑free. A smart outdoor placement that breathes, drains, and is easy to reach will keep your system efficient and reliable for years.
Frequently Asked Questions
Q1: Can I put the outdoor unit on a roof or balcony?
A: Yes—provided the structure can support it and you follow local code and the manufacturer’s mounting instructions. Use a level, vibration‑isolated stand, anchor against wind uplift, and ensure safe service access. Think about condensate and defrost water—don’t drain onto walkways or neighbors. Keep line length and vertical rise within the unit’s spec. On roofs, avoid hot zones with reflected heat from dark surfaces; shade helps as long as airflow stays wide open.
Q2: Is it okay to mount a mini‑split above the bed or sofa?
A: Aim to sweep air across the room rather than directly onto people. Mount on a wall that gives the longest throw, then angle the vane so cooled air slides above the bed/sofa and mixes gently. Placing a head directly above a headboard can cause drafts and noise sensitivity at night. In small bedrooms, use “quiet” fan modes and consider low‑wall or ceiling cassettes for more even distribution.
Q3: Does shading the outdoor unit actually help efficiency?
A: Slightly—when done right. Shading can lower condenser intake temperature a bit, trimming energy use, but the benefit disappears if shade blocks airflow. Prefer open structures or natural shade that respects clearances. Then this: prioritize free airflow and coil cleanliness over aggressive shading. Recirculating hot air hurts far more than any small gain from shade.
Q4: How far apart can the indoor and outdoor units be?
A: It depends on the model. Many residential mini‑splits allow 15–30 meters (50–100 feet) of line length and a vertical separation limit (for example, 15–25 meters/50–82 feet). Longer runs may require additional refrigerant, can reduce capacity, and might increase noise. Always check the specific manual, minimize bends, and keep runs as short and direct as the floor plan allows.
Q5: Where should I put the thermostat?
A: On an interior wall, about 52–60 inches (132–152 cm) above the floor, away from direct sun, supply vents, kitchens, and exterior doors. Don’t hide it behind curtains or furniture. The goal is to measure the room’s average air, not the hottest or coldest spot. Smart thermostats also need reliable Wi‑Fi, so avoid fringe signal areas.
Conclusion and Next Steps
Great AC performance is no accident. You’ve seen how optimal placement affects comfort, efficiency, noise, and longevity—and why airflow, heat sources, acoustics, and service access should guide every installation decision. Indoors, pick a location with a long, unobstructed throw, realistic clearances, and a reliable condensate path. Outdoors, give the condenser space to breathe, elevate it above water and snow, respect clearances, and avoid hot, enclosed alcoves. Keep line sets short and smooth, protect against corrosion and wind, and plan for easy maintenance. Do these simple things and you’ll enjoy cooler rooms, quieter operation, and lower bills.
Your next move: walk your space with a tape measure and this article open. Mark sun and heat sources, measure clearances, trace a short line‑set path, and verify a safe drain route. Compare your plan with the manufacturer’s manual and local code. If in doubt, schedule a site visit with a licensed HVAC contractor and ask them to validate placement before anyone drills a hole. Small planning choices now can save hundreds of dollars and hours of frustration later.
Share this guide with a friend who’s installing a system, or use it as a checklist for your own project today. Thoughtful placement is the fastest “upgrade” you can make without buying a bigger unit or a pricier brand. Precision beats power, and planning beats guesswork. Ready to choose the exact spot and enjoy the comfort you paid for? Which room in your home needs the smartest placement first?
Helpful resources and further reading:
ENERGY STAR – Guidance on efficient cooling and contractor best practices
U.S. Department of Energy: Air Conditioning – Tips on AC performance and maintenance
ACCA Manuals J/S/D – Right‑sizing, equipment selection, and duct design (for pros)
ASHRAE Standards – Ventilation and thermal comfort fundamentals
WHO Environmental Noise – Background on noise and health
NIOSH Noise and Hearing Loss Prevention – Sound exposure basics
Sources:
ENERGY STAR. Cooling and Air Conditioning Best Practices. https://www.energystar.gov/
U.S. Department of Energy. Energy Saver: Air Conditioning. https://www.energy.gov/energysaver/air-conditioning
Air Conditioning Contractors of America (ACCA). Technical Manuals J, S, D. https://www.acca.org/standards/technical-manuals
ASHRAE. Standards and Guidelines. https://www.ashrae.org/technical-resources/standards-and-guidelines
World Health Organization (WHO). Environmental Noise Guidelines. https://www.who.int/news-room/fact-sheets/detail/environmental-noise
NIOSH/CDC. Noise and Hearing Loss Prevention. https://www.cdc.gov/niosh/topics/noise/